未提供项目描述

项目描述

Scikit for Gmsh 生成 3D 有限元网格。


《scikit-gmsh》包提供了一个简单的接口来访问《gmsh》库。该库的主要目标如下
- 提供直观的对象导向 API 以创建网格。
- 与其他库无缝集成到《科学 Python》生态系统中。
非常欢迎贡献。本项目采用《贡献者行为准则》(Contributor Code of Conduct)。通过参与本项目,我们希望您知道您同意遵守其条款。
喜欢scikit-gmsh?通过GitHub star 表达您的支持——这是一个简单的点击,对我们来说意义重大,并帮助其他人发现它!⭐️
安装

pip install scikit-gmsh
用法
import skgmsh as sg
现在,让我们定义几何形状。
shell = [(0, 0, 0), (0, 10, 0), (10, 10, 0), (10, 0, 0), (0, 0, 0)]
holes = [[(2, 2, 0), (2, 4, 0), (4, 4, 0), (4, 2, 0), (2, 2, 0)]]
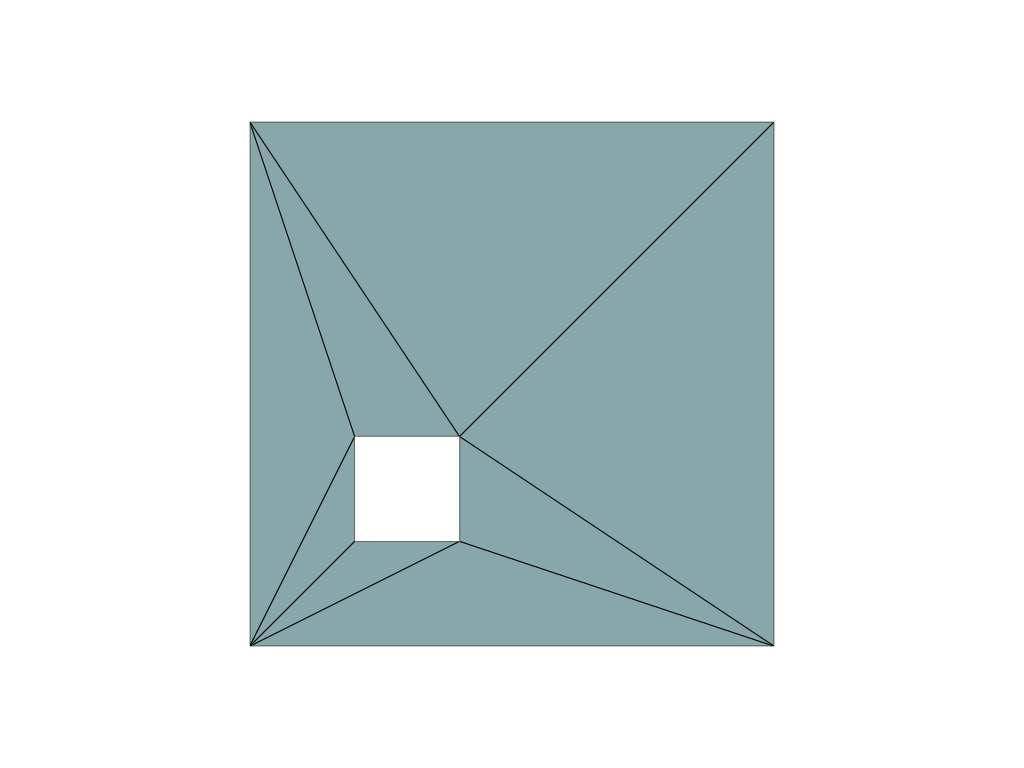
然后我们可以生成一个二维网格。
alg = sg.Delaunay2D(shell=shell, holes=holes)
mesh = alg.mesh
要可视化模型,我们可以使用PyVista。
mesh.plot(show_edges=True, cpos="xy")
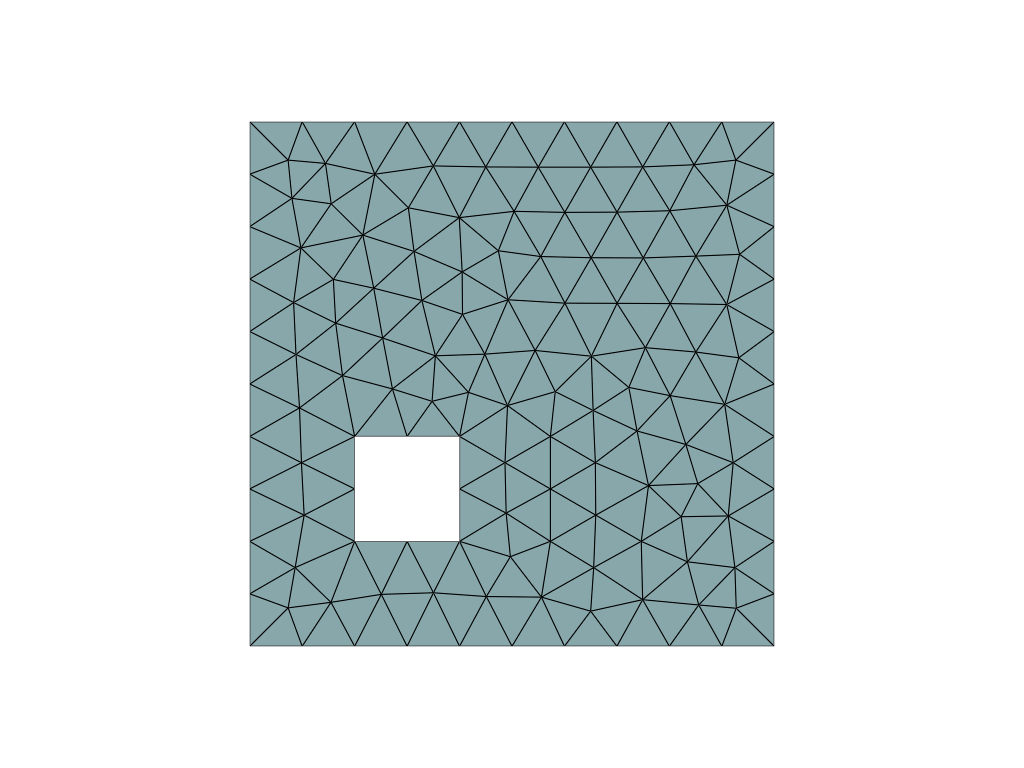
如果您想设置单元格大小,您可以这样做。
alg.cell_size = 0.5
alg.mesh.plot(show_edges=True, cpos="xy")
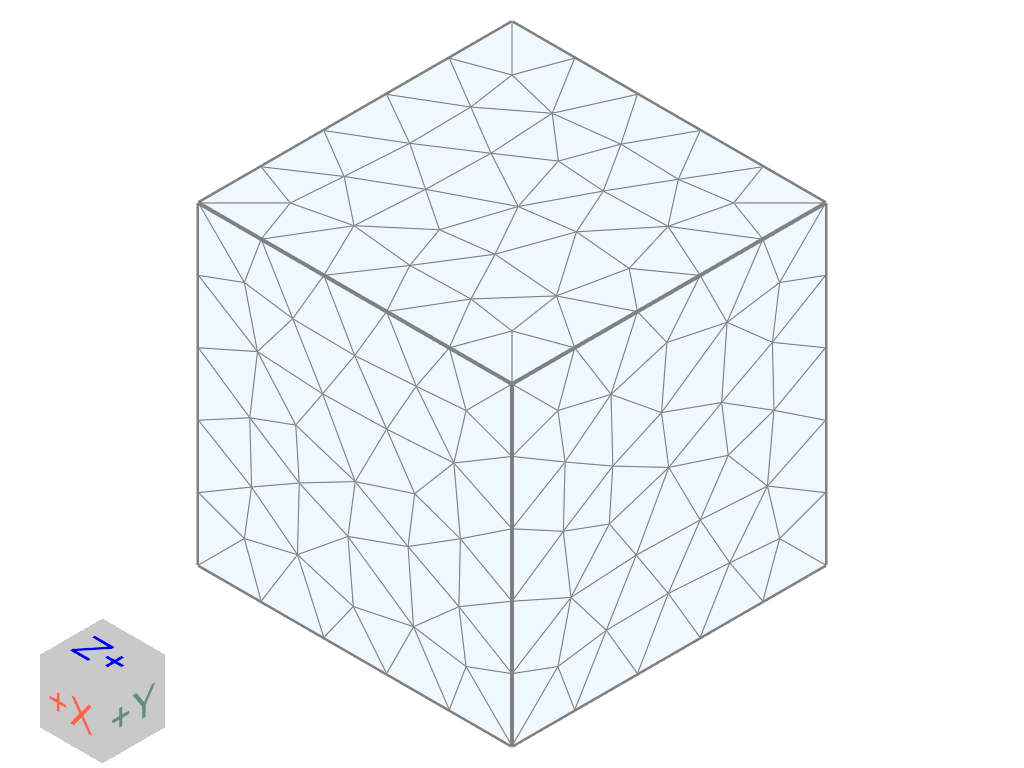
我们还可以生成一个三维网格。
source = pv.Cube()
delaunay_3d = sg.Delaunay3D(edge_source=source, target_sizes=0.2)
plotter = pv.Plotter()
_ = plotter.add_mesh(
    delaunay_3d.mesh,
    show_edges=True,
    line_width=1,
    color="aliceblue",
    lighting=False,
    edge_color="gray",
)
_ = plotter.add_mesh(edge_source.extract_all_edges(), line_width=4, color="gray")
_ = plotter.add_box_axes()
plotter.show()
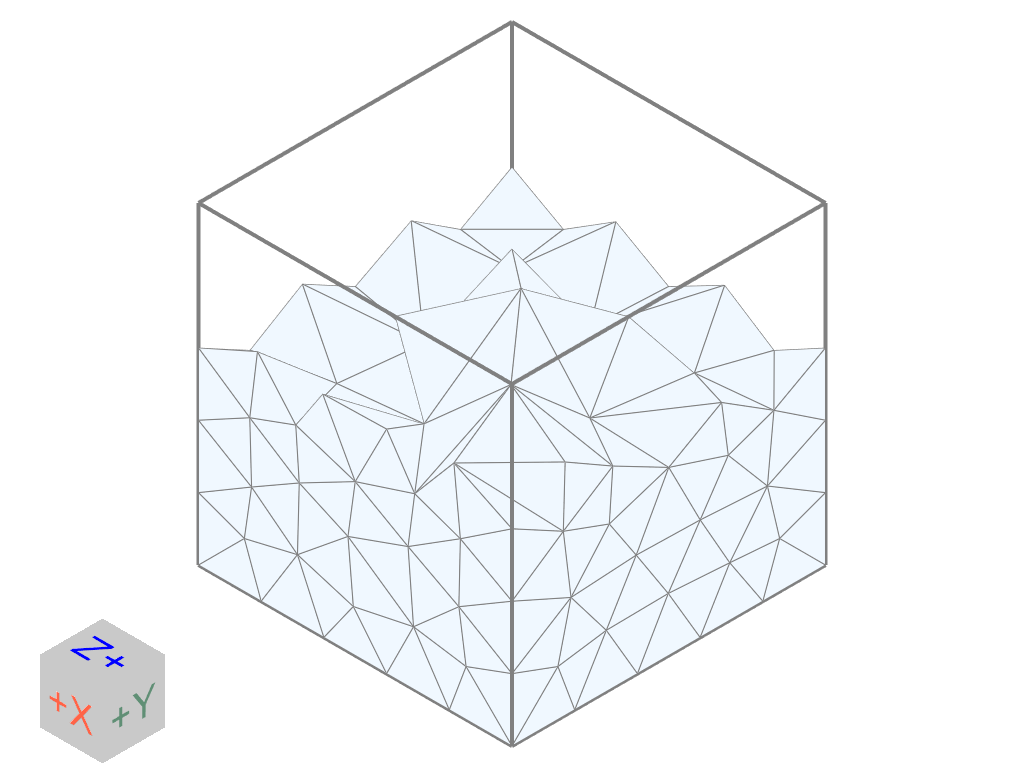
通过指定原点和法线,我们可以通过平面剪切网格。有关使用此筛选器的更多示例,请参阅clip_with_surface_example。
clipped = delaunay_3d.mesh.clip(
    origin=(0.0, 0.0, 0.0), normal=(0.0, 0.0, 1.0), crinkle=True
)
许可
本软件根据GPLv3许可发布。
星历史


下载文件
下载适用于您平台的文件。如果您不确定选择哪个,请了解更多关于 安装软件包 的信息。
源代码分发
scikit-gmsh-0.2.1.tar.gz (19.3 kB 查看哈希值)
构建分发
scikit_gmsh-0.2.1-py3-none-any.whl (18.1 kB 查看哈希值)