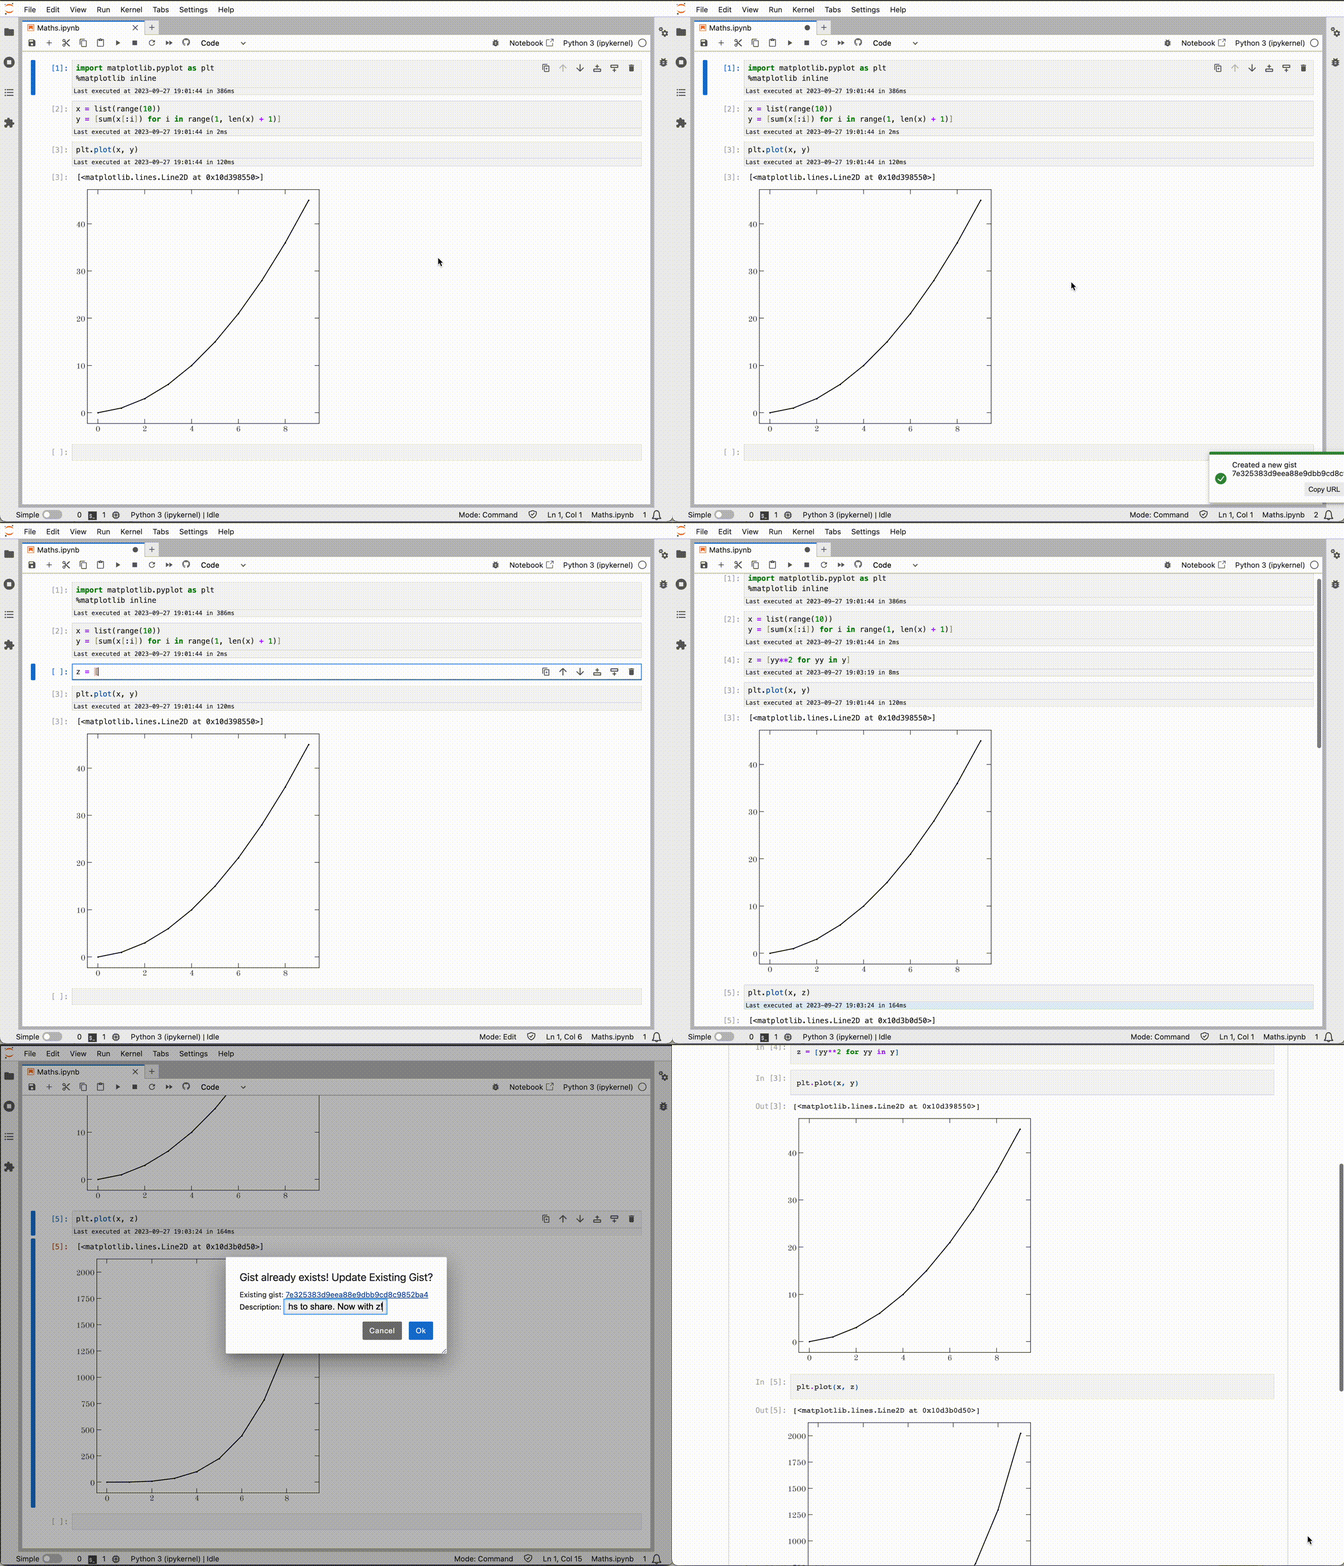
上传Jupyter笔记本到GitHub Gist。
项目描述
上传Gist!
通过单击按钮将Jupyter笔记本上传为Gist。
这是原始Jupyter笔记本扩展Gist it的Jupyterlab v4.0兼容版本。
要求
- JupyterLab >= 4.0.0
安装
要安装扩展,请执行
pip install jupyterlab_gist_it
您可能需要重新启动Jupyter服务器。然后您需要进入设置编辑器,在设置 > 设置编辑器 > Gist It中输入GitHub个人访问令牌。您可以在此处根据说明生成令牌。我们建议使用只有Gist权限的(新)细粒度令牌。
卸载
要删除扩展,请执行
pip uninstall jupyterlab_gist_it
贡献
开发安装
注意:您需要NodeJS来构建扩展包。
jlpm 命令是 JupyterLab 集成的 yarn 版本,与 JupyterLab 一起安装。您可以使用 yarn 或 npm 替代下面的 jlpm。
# Clone the repo to your local environment
# Change directory to the jupyterlab_gist_it directory
# Install package in development mode
pip install -e "."
# Link your development version of the extension with JupyterLab
jupyter labextension develop . --overwrite
# Rebuild extension Typescript source after making changes
jlpm build
您可以在不同的终端中同时监视源目录并运行 JupyterLab,以监视扩展源代码的变化并自动重新构建扩展。
# Watch the source directory in one terminal, automatically rebuilding when needed
jlpm watch
# Run JupyterLab in another terminal
jupyter lab
当监视命令运行时,每次保存的更改都会立即本地构建并可用于正在运行的 JupyterLab。刷新 JupyterLab 以在浏览器中加载更改(您可能需要等待几秒钟以便重新构建扩展)。
默认情况下,jlpm build 命令为该扩展生成源映射,以便更容易使用浏览器开发者工具进行调试。要为 JupyterLab 核心扩展也生成源映射,可以运行以下命令
jupyter lab build --minimize=False
开发模式下的卸载
pip uninstall jupyterlab_gist_it
在开发模式下,您还需要删除由 jupyter labextension develop 命令创建的符号链接。要找到其位置,可以运行 jupyter labextension list 以确定 labextensions 文件夹的位置。然后您可以在该文件夹中删除名为 jupyterlab_gist_it 的符号链接。
测试扩展
前端测试
此扩展使用 Jest 对 JavaScript 代码进行测试。
要执行它们,请执行
jlpm
jlpm test
集成测试
此扩展使用 Playwright 进行集成测试(也称为用户级测试)。更精确地说,使用 JupyterLab 辅助程序 Galata 来处理在 JupyterLab 中测试扩展。
有关更多信息,请参阅 ui-tests 的 README。
打包扩展
见 RELEASE
项目详情
jupyterlab_gist_it-0.2.1.tar.gz 的哈希
| 算法 | 哈希摘要 | |
|---|---|---|
| SHA256 | 5ff4ccace8656aff89f857d735aff37950f6d8e1e666748f821af0cf9392a0a0 |
|
| MD5 | f814cf9aa2c36ad8ad105ac7323d23a1 |
|
| BLAKE2b-256 | 3ad7403e5b2d59f206f9dd622ad3c2d7a58229705a2c897a10fb2e09078b55f1 |
jupyterlab_gist_it-0.2.1-py3-none-any.whl 的哈希
| 算法 | 哈希摘要 | |
|---|---|---|
| SHA256 | 924e5b62f86e7059a4c241ba2b89f20f29f98fd9946d864a537f928735afec82 |
|
| MD5 | 82a3628892494e52ad8728a318161b01 |
|
| BLAKE2b-256 | faeafae73fcfe247fb289cbea095e15fa791c650cb6429b582b625a9efd0c5b9 |


