PyTorch实现的HighRes3DNet

项目描述
highresnet


$ NII_FILE=`download_oasis`
$ deepgif $NII_FILE
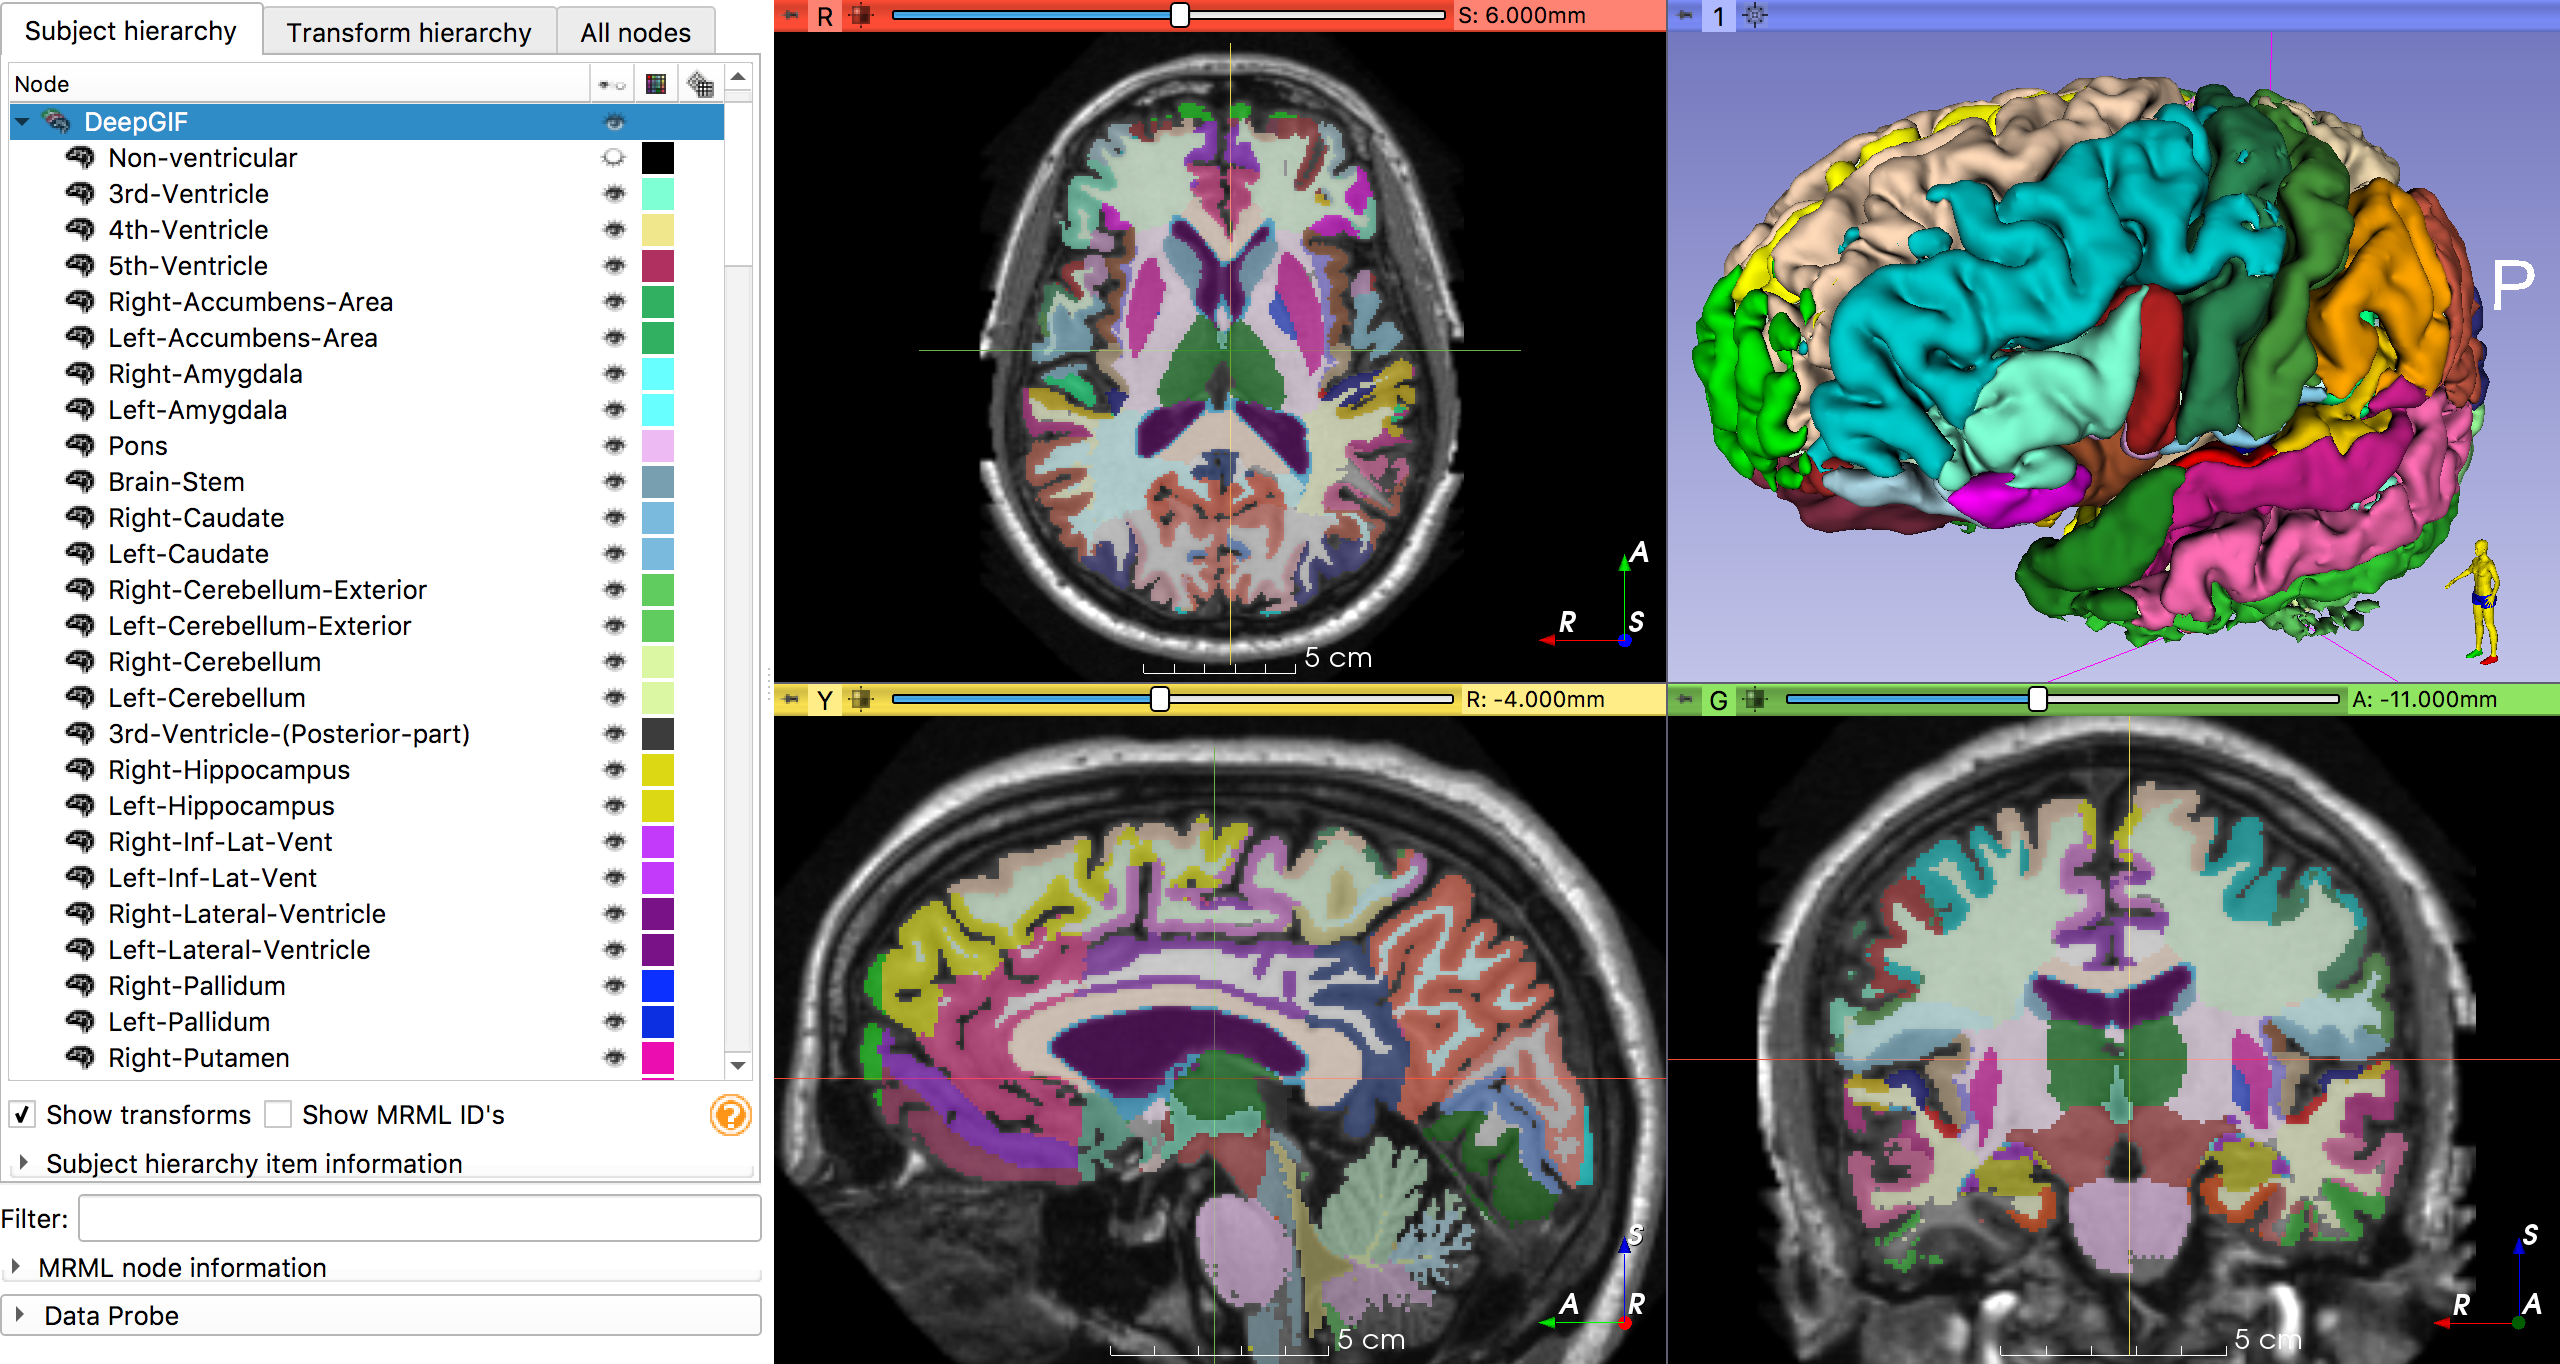
来自Li et al. 2017, *On the Compactness, Efficiency, and Representation of 3D Convolutional Networks: Brain Parcellation as a Pretext Task* 的PyTorch实现的HighRes3DNet。
有关如何将权重从NiftyNet迁移的所有信息,请参阅我在MICCAI Educational Challenge 2019的提交。
用法
命令行界面
(deepgif) $ deepgif t1_mri.nii.gz
Using cache found in /home/fernando/.cache/torch/hub/fepegar_highresnet_master
100%|███████████████████████████████████████████| 36/36 [01:13<00:00,  2.05s/it]
PyTorch Hub
如果您正在使用 pytorch>=1.1.0,您可以直接从PyTorch Hub导入模型。
>>> import torch
>>> repo = 'fepegar/highresnet'
>>> model_name = 'highres3dnet'
>>> print(torch.hub.help(repo, model_name))
    "HighRes3DNet by Li et al. 2017 for T1-MRI brain parcellation"
    "pretrained (bool): load parameters from pretrained model"
>>> model = torch.hub.load(repo, model_name, pretrained=True)
>>>
安装
1. 创建一个conda环境(推荐)
ENVNAME="gifenv"
conda create -n $ENVNAME python -y
conda activate $ENVNAME
2. 安装PyTorch和highresnet
在conda环境中
pip install pytorch highresnet现在您可以
>>> from highresnet import HighRes3DNet
>>> model = HighRes3DNet(in_channels=1, out_channels=160)
>>>
致谢
此包是用Cookiecutter和audreyr/cookiecutter-pypackage项目模板创建的。
历史
0.7.1 (2019-11-05)
PyPI上的首次发布。


下载文件
下载您平台对应的文件。如果您不确定选择哪个,请了解更多关于安装包的信息。
源分布
highresnet-0.10.2.tar.gz (19.6 kB 查看哈希值)
构建分布
highresnet-0.10.2-py2.py3-none-any.whl (17.0 kB 查看哈希值)
关闭
highresnet-0.10.2.tar.gz的哈希值
| 算法 | 哈希摘要 | |
|---|---|---|
| SHA256 | 938841caf10306e3bf429e6cb174dc8135b3aaff64967d395151ea8058f23565 |
|
| MD5 | f058c90b5fc4f7131cf9c9bb9a3fdac1 |
|
| BLAKE2b-256 | cdd8f4330e112607a436ff3c0709825f36fb245cbf24ff1b2a81f433810dbcaf |
关闭
highresnet-0.10.2-py2.py3-none-any.whl的哈希值
| 算法 | 哈希摘要 | |
|---|---|---|
| SHA256 | 451b1134868c9d648e8c531bf9bf4c0f2274df90834bb52b245255710192e016 |
|
| MD5 | 4ed8389bb2055d2f98d521b992ae09b2 |
|
| BLAKE2b-256 | 58b61910770261403d95acc22124e358d1ec40fc34d4f235caaab0d73948e564 |