为Flask应用程序添加GoogleMaps的简单方法


项目描述
Flask Google Maps 


在您的Flask应用程序中轻松使用Google Maps
需要
- Jinja
- Flask
- 获取Google API密钥 在这里
贡献
要为项目做出贡献,请克隆它,创建一个virtualenv并安装所有开发所需内容,详见下文
git clone https://github.com/flask-extensions/Flask-GoogleMaps.git
cd Flask-GoogleMaps
poetry use env 3.8  # just to create virtualenv at the first time
poetry shell # activate virtualenv
poetry install  # to install all for dev
安装
要在项目中使用它,只需使用您的依赖关系管理器安装它,使用pip如下所示
pip install flask-googlemaps
工作原理
Flask-GoogleMaps 在您的Jinja环境中包含一些全局函数和模板过滤器,它还允许您在需要时在视图中使用地图。
注册
在您的应用程序中
from flask import Flask
from flask_googlemaps import GoogleMaps

app = Flask(__name__)

# you can set key as config
app.config['GOOGLEMAPS_KEY'] = "8JZ7i18MjFuM35dJHq70n3Hx4"

# Initialize the extension
GoogleMaps(app)

# you can also pass the key here if you prefer
GoogleMaps(app, key="8JZ7i18MjFuM35dJHq70n3Hx4")
在模板中
{{googlemap("my_awesome_map", lat=0.23234234, lng=-0.234234234, markers=[(0.12,
-0.45345), ...])}}
就这样!现在您可以使用一些模板过滤器和函数了,更多详细信息请参考下面的示例和截图。
用法
- 您可以在视图中创建地图,然后将其发送到模板上下文
- 您可以直接使用模板函数和过滤器
1. 视图
from flask import Flask, render_template
from flask_googlemaps import GoogleMaps
from flask_googlemaps import Map

app = Flask(__name__, template_folder=".")
GoogleMaps(app)

@app.route("/")
def mapview():
    # creating a map in the view
    mymap = Map(
        identifier="view-side",
        lat=37.4419,
        lng=-122.1419,
        markers=[(37.4419, -122.1419)]
    )
    sndmap = Map(
        identifier="sndmap",
        lat=37.4419,
        lng=-122.1419,
        markers=[
          {
             'icon': 'http://maps.google.com/mapfiles/ms/icons/green-dot.png',
             'lat': 37.4419,
             'lng': -122.1419,
             'infobox': "<b>Hello World</b>"
          },
          {
             'icon': 'http://maps.google.com/mapfiles/ms/icons/blue-dot.png',
             'lat': 37.4300,
             'lng': -122.1400,
             'infobox': "<b>Hello World from other place</b>"
          }
        ]
    )
    return render_template('example.html', mymap=mymap, sndmap=sndmap)

if __name__ == "__main__":
    app.run(debug=True)
Map() 参数
- lat:地图中心的纬度坐标。
- lng:地图中心的经度坐标。
- zoom:缩放级别。默认为
13。 - maptype:地图类型 -
ROADMAP、SATELLITE、HYBRID、TERRAIN。默认为ROADMAP。 - markers:标记数组,为元组,包含 (lat、lng、infobox、icon、label)。默认为
None。 - 或 markers:包含 lat、lng、infobox、icon、label 的字典列表。
- 或 markers:标记字典,键为图标URL,值为标记数组。
- varname:实例变量名称。
- style:包含CSS样式的字符串。默认为
"height:300px;width:300px;margin:0;"。 - identifier:CSS ID选择器名称。
- cls:CSS类选择器名称。默认为
"map"。 - language:地图语言。默认为
"en"。 - region:地图区域。默认为
"US"。
也控制 True 或 False
- zoom_control
- maptype_control
- scale_control
- scale_control
- streetview_control
- rotate_control
- fullscreen_control
- scroll_wheel
- collapsible (通过点击 varname_collapse 按钮折叠地图)
- mapdisplay (默认显示可折叠地图或否)
- center_on_user_location (使用HTML5地理位置)
2. 模板
<!DOCTYPE html>
<html>
  <head>
    {{"decoupled-map"|googlemap_js(37.4419, -122.1419, markers=[(37.4419,
    -122.1419)])}} {{mymap.js}} {{sndmap.js}}
  </head>
  <body>
    <h1>Flask Google Maps Example</h1>

    <h2>Template function centered, no marker</h2>
    {{googlemap("simple-map", 37.4419, -122.1419)}}

    <h2>Template filter decoupled with single marker</h2>
    {{"decoupled-map"|googlemap_html(37.4419, -122.1419)}}

    <h2>Template function with multiple markers</h2>
    {% with map=googlemap_obj("another-map", 37.4419, -122.1419,
    markers=[(37.4419, -122.1419), (37.4300, -122.1400)]) %} {{map.html}}
    {{map.js}} {% endwith %}

    <h2>First map generated in view</h2>
    {{mymap.html}}

    <h2>Second map generated in view</h2>
    <h3>Example for different icons in multiple markers with infoboxes</h3>
    {{sndmap.html}}
  </body>
</html>
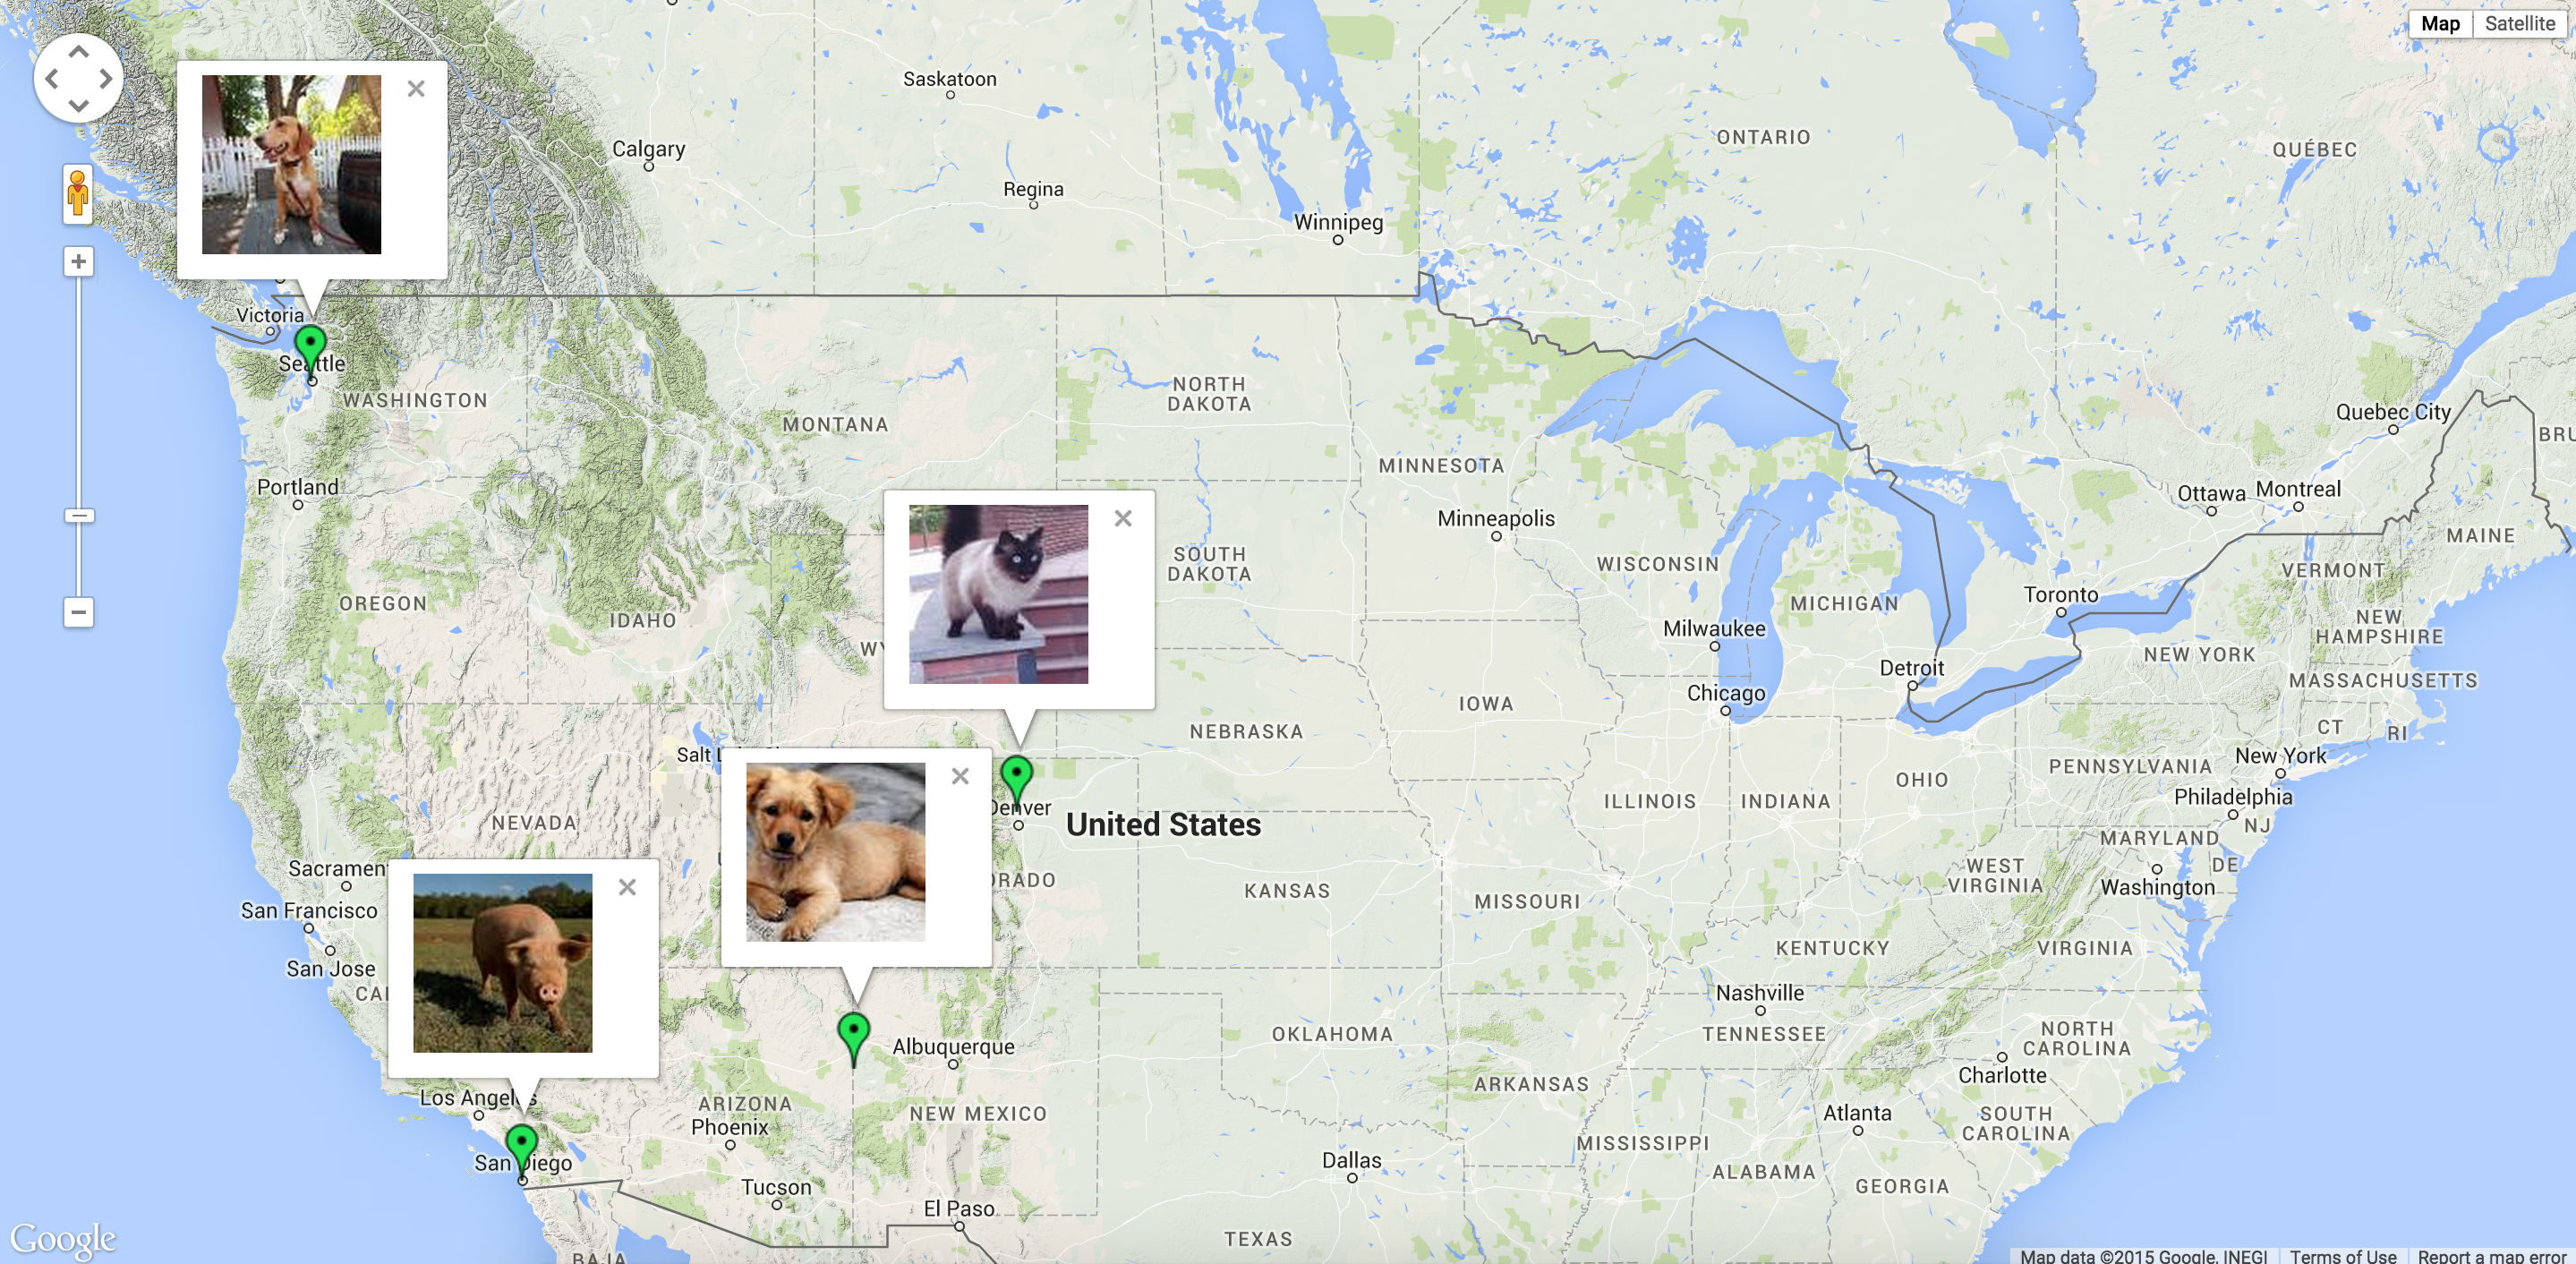
信息框
以下是一个代码片段示例
    Map(
        identifier="catsmap",
        lat=37.4419,
        lng=-122.1419,
        markers=[
            {
                'icon': 'http://maps.google.com/mapfiles/ms/icons/green-dot.png',
                'lat':  37.4419,
                'lng':  -122.1419,
                'infobox': "<img src='cat1.jpg' />"
            },
            {
                'icon': 'http://maps.google.com/mapfiles/ms/icons/blue-dot.png',
                'lat': 37.4300,
                'lng': -122.1400,
                'infobox': "<img src='cat2.jpg' />"
            },
            {
                'icon': 'http://maps.google.com/mapfiles/ms/icons/yellow-dot.png',
                'lat': 37.4500,
                'lng': -122.1350,
                'infobox': "<img src='cat3.jpg' />"
            }
        ]
    )
结果如下所示地图:
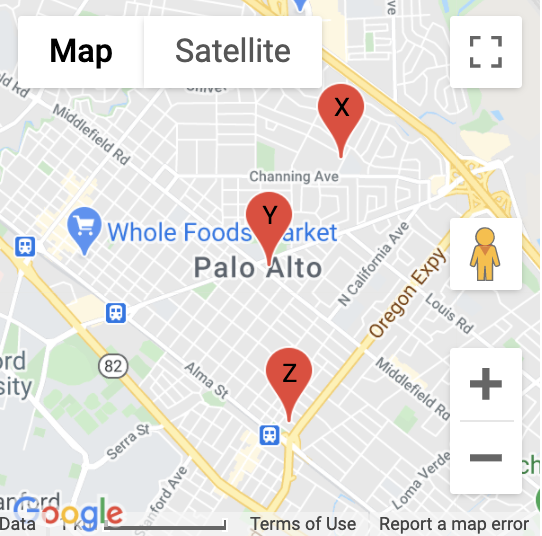
标签
以下是一个代码片段示例
Map(
        identifier="labelsmap",
        lat=37.4419,
        lng=-122.1419,
        markers=[
            {
                'lat': 37.4500,
                'lng': -122.1350,
                'label': "X"
            },
            {
                'lat':  37.4419,
                'lng':  -122.1419,
                'label': "Y"
            },
            {
                'lat': 37.4300,
                'lng': -122.1400,
                'label': "Z"
            }
        ]
    )
结果如下所示地图
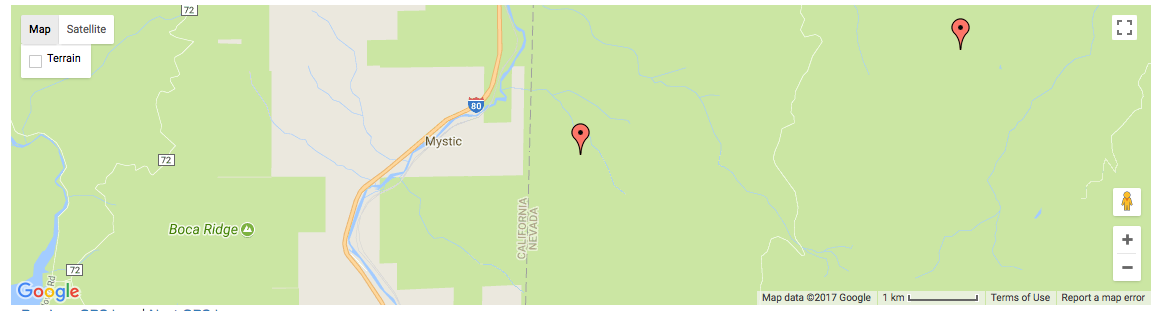
在范围内适应所有标记
允许用户在页面加载时轻松适应视图中的所有标记
无范围
@app.route('/map-unbounded/')
def map_unbounded():
"""Create map with markers out of bounds."""
    locations = []    # long list of coordinates
    map = Map(
        lat=locations[0].latitude,
        lng=locations[0].longitude,
        markers=[(loc.latitude, loc.longitude) for loc in locations]
    )
    return render_template('map.html', map=map)
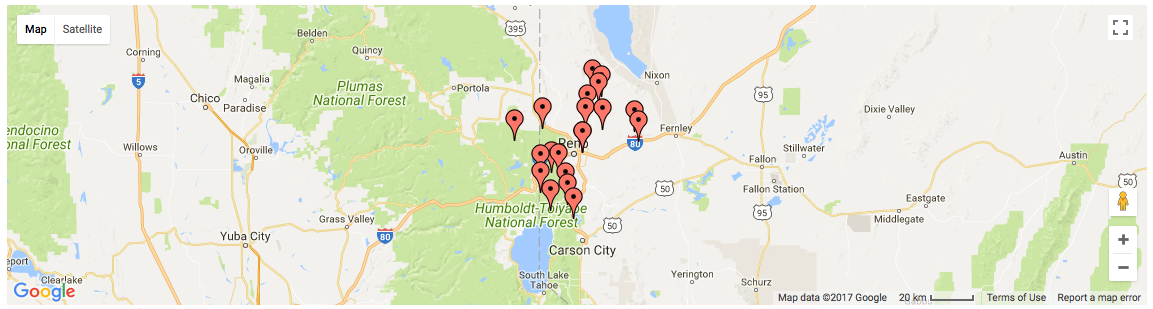
有范围
@app.route('/map-bounded/')
def map_bounded():
"""Create map with all markers within bounds."""
    locations = []    # long list of coordinates
    map = Map(
        lat=locations[0].latitude,
        lng=locations[0].longitude,
        markers=[(loc.latitude, loc.longitude) for loc in locations],
        fit_markers_to_bounds = True
    )
    return render_template('map.html', map=map)
地理编码和反向地理编码
from flask_googlemaps import get_address, get_coordinates
API_KEY = 'YOUR API KEY'

#Reverse Geocoding: getting detailed address from coordinates of a location
print(get_address(API_KEY,22.4761596,88.4149326))
#output: {'zip': '700150', 'country': 'India', 'state': 'West Bengal', 'city': 'Kolkata', 'locality': 'Kolkata', 'road': 'Techno City', 'formatted_address': 'Sirin Rd, Mauza Ranabhutia, Techno City, Kolkata, West Bengal 700150, India'}


#Geocoding: getting coordinates from address text
print(get_coordinates(API_KEY,'Netaji Subhash Engineering College Kolkata'))
#output: {'lat': 22.4761596, 'lng': 88.4149326}
运行示例应用程序
$ git clone https://github.com/flask-extensions/Flask-GoogleMaps
$ cd Flask-GoogleMaps/
如果您有 Poetry
$ poetry install
没有 poetry
$ pip install --upgrade pip
$ pip install -e .
$ pip install -r requirements.txt
运行它。
$ FLASK_GOOGLEMAPS_KEY="YourKeyHERE" FLASK_APP=examples/example.py flask run
running on localhost:5000 .....
访问: https://:5000/ 和 https://:5000/fullmap
使用Google Maps API进行贡献
请参阅此页面 developers.google.com/maps/documentation/javascript/tutorial 并做出贡献!


下载文件
下载适用于您的平台的文件。如果您不确定选择哪个,请了解更多关于 安装包 的信息。
源分布
flask_googlemaps-0.4.1.tar.gz (19.5 kB 查看散列值)
构建分布
flask_googlemaps-0.4.1-py3-none-any.whl (16.0 kB 查看散列值)