appenlight

项目描述
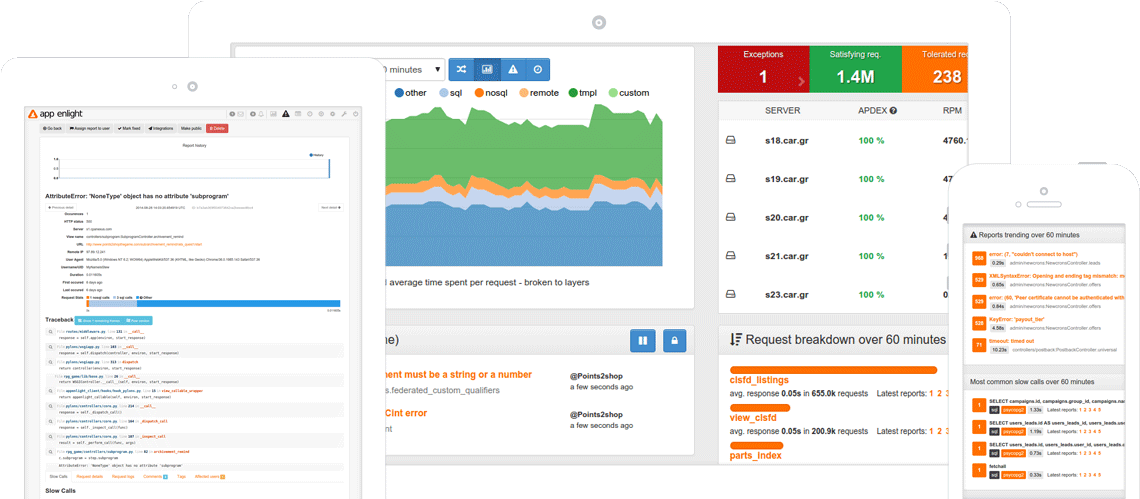
AppEnlight
Web的性能、异常和正常运行时间监控
自动安装
使用自动化存储库中的ansible脚本构建应用程序的完整实例。您还可以使用自动化/packer中的packer文件创建KVM和VMWare的整个虚拟机。
手动安装
要运行应用程序,您需要满足以下先决条件
- python 3.5+(目前测试3.6)
- 运行elasticsearch(测试6.6.2)
- 运行postgresql(9.5+需要,测试9.6和10.6)
- 运行redis
通过以下方式安装应用程序
pip install -r requirements.txt

python setup.py develop
安装appenlight正常运行时间插件(从appenlight-uptime-ce存储库中的ae_uptime_ce包)。
对于生产使用,您可以
pip install appenlight
pip install ae_uptime_ce
安装应用程序后,您需要执行以下步骤
-
(可选)生成生产.ini(或使用开发.ini的副本)
appenlight-make-config production.ini -
设置数据库结构
appenlight-migratedb -c FILENAME.ini -
配置elasticsearch
appenlight-reindex-elasticsearch -t all -c FILENAME.ini -
创建基本数据库对象
(使用帮助标志运行此命令以查看如何创建管理员用户)
appenlight-initializedb -c FILENAME.ini -
生成静态资源
appenlight-static -c FILENAME.ini
运行应用程序
运行主应用程序
pserve development.ini
运行 celery 工作者
celery worker -A appenlight.celery -Q "reports,logs,metrics,default" --ini FILENAME.ini
运行 celery beat
celery beat -A appenlight.celery --ini FILENAME.ini
运行 appenlight 的 uptime 插件
appenlight-uptime-monitor -c FILENAME.ini
实时通知
您还应该运行 `channelstream websocket 服务器以实现实时通知
channelstream -i filename.ini
附加文档
访问 https://getappenlight.com 获取附加的服务器和客户端文档。
测试
运行测试套件
py.test appenlight/tests/tests.py --cov appenlight (this looks for testing.ini in repo root)
开发
开发 appenlight 前端
cd frontend
npm install
grunt watch

关闭
appenlight-2.0.0rc1.tar.gz 的哈希值
| 算法 | 哈希摘要 | |
|---|---|---|
| SHA256 | 4cdda121dacbd5a528a94d99ed73db72e8781ad17123fd1b1b6405366a7d782f |
|
| MD5 | fcbc5aeb5f3d35b4d050a4f8113e2d35 |
|
| BLAKE2b-256 | fd82cdd7eb82af455b0416bb8eefed6e10d4040c4054617d928135f476080931 |
关闭
appenlight-2.0.0rc1-py3-none-any.whl 的哈希值
| 算法 | 哈希摘要 | |
|---|---|---|
| SHA256 | 685d025ada09ec0cb5269deba6a08686f1799bd6e94f66fdd528bb1eb62a56be |
|
| MD5 | ec3f8fef1929bda80015686c89bc9539 |
|
| BLAKE2b-256 | cb30cf878246f823063189767e3d139045fd8069a03e92d70b9267c23c7b8c8e |